Appearance
Single Sign-On using Active Directory with ADFS and SAML
Deskradar supports single sign-on (SSO) logins through SAML 2.0. A SAML 2.0 identity provider (IDP) can take many forms, one of which is a self-hosted Active Directory Federation Services (ADFS) server. This guide demonstrates how to configure single sign-on using Active Directory with ADFS and SAML.
Active Directory with ADFS configuration
Configuring and installing ADFS is beyond the scope of this guide, but is detailed in a Microsoft KB article.
Add a relying party trust
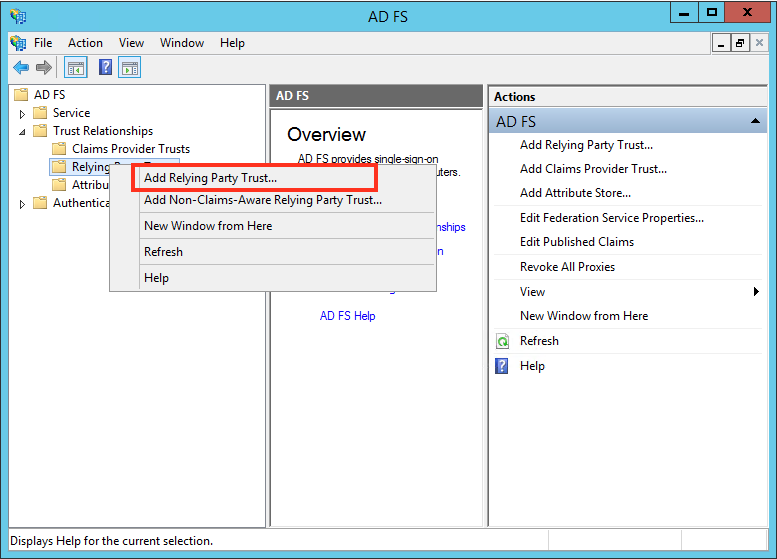
In AD FS management sidebar, go to AD FS > Trust Relationships > Relying Party Trusts and click Add Relying Party Trust.
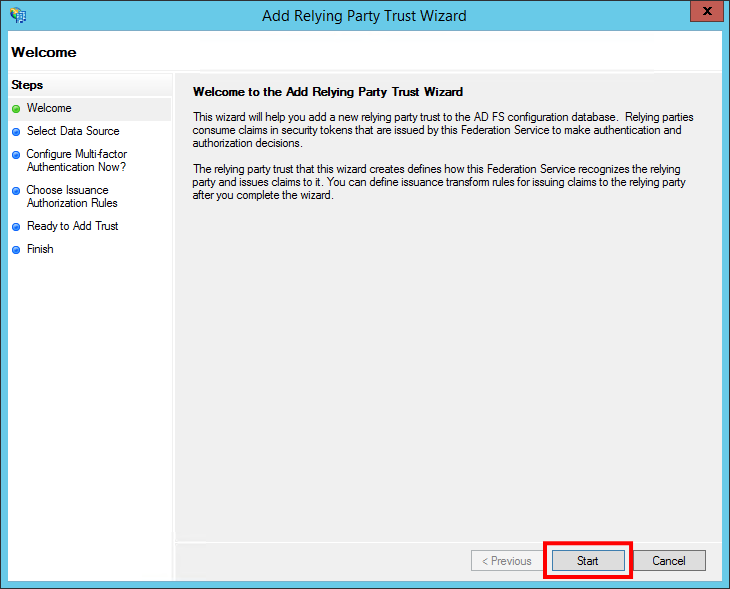
A configuration wizard for adding a new relying party trust opens. In the Welcome screen, click Start.
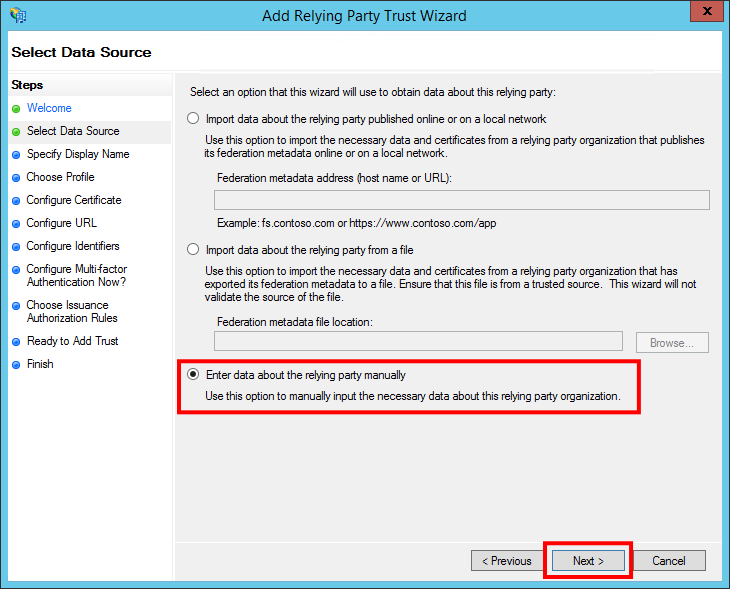
In the Select Data Source screen, select the option Enter data about the relying party manually.
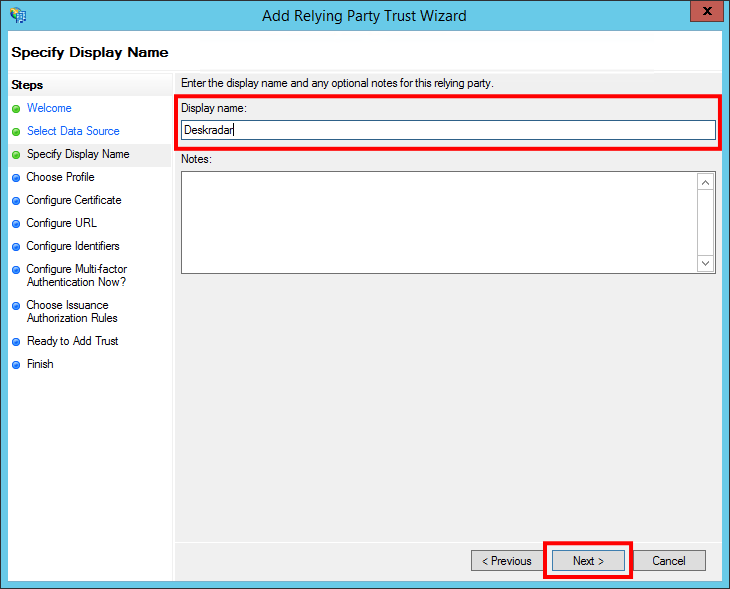
In the Specify Display Name screen, enter a Display Name to recognize the trust, such as Deskradar, and add any notes you want to make.
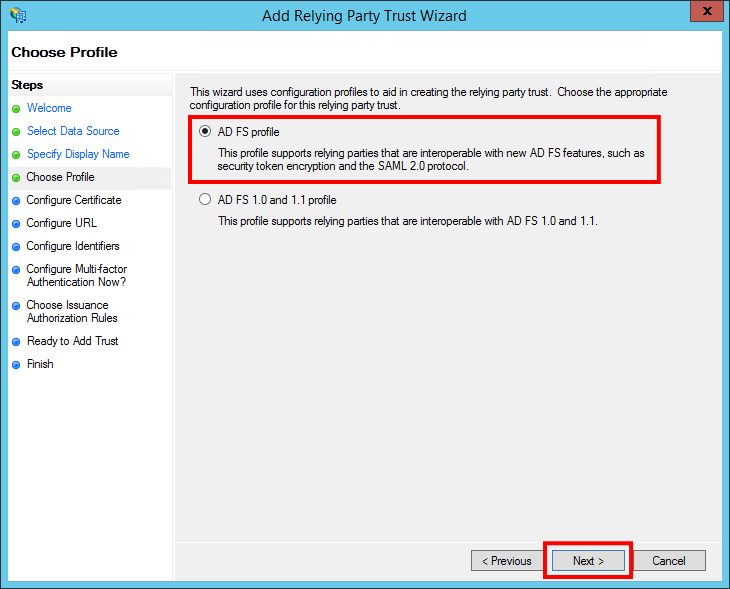
In the Choose Profile screen, select the option AD FS profile (selected by default).
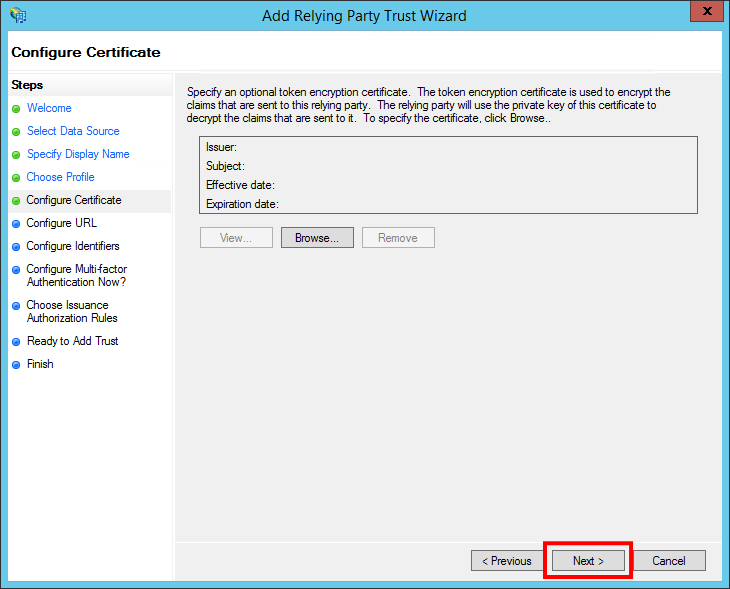
In the Configure Certificate screen, leave the certificate settings at their default values.
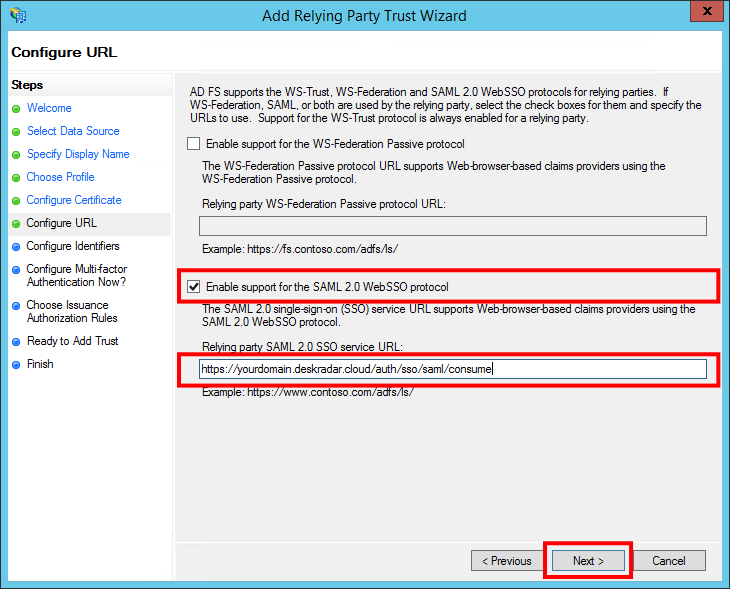
In the Configure URL screen, select Enable Support for the SAML 2.0 WebSSO protocol and enter the Relying party SAML 2.0 SSO service URL, similar to https://<your-domain>.deskradar.cloud/auth/sso/saml/consume.
In the Configure Identifiers screen, enter the Relying party trust identifier similar to https://<your-domain>.deskradar.cloud and click Add.

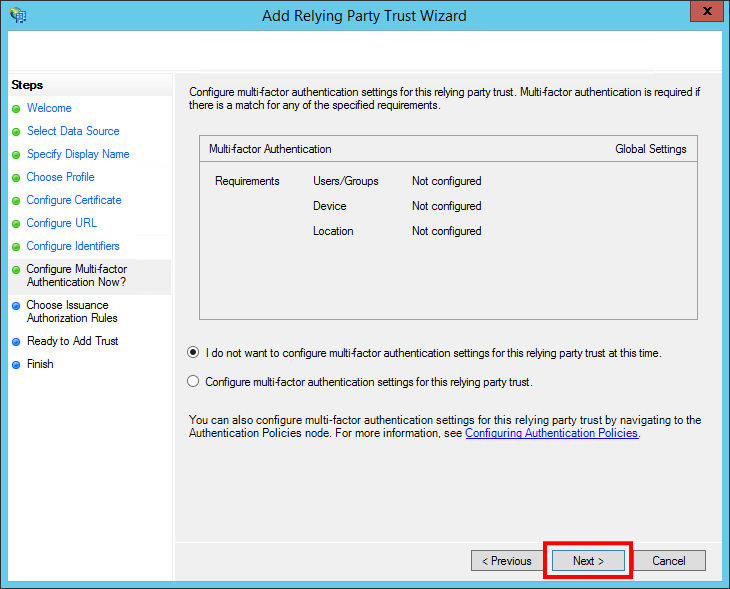
In the Configure Multi-factor Authentication Now screen, you may enable multi-factor authentication, but this is beyond the scope of this guide.
In the Choose Issuance Authorization Rules screen, select the option Permit all users to access this relying party (selected by default).

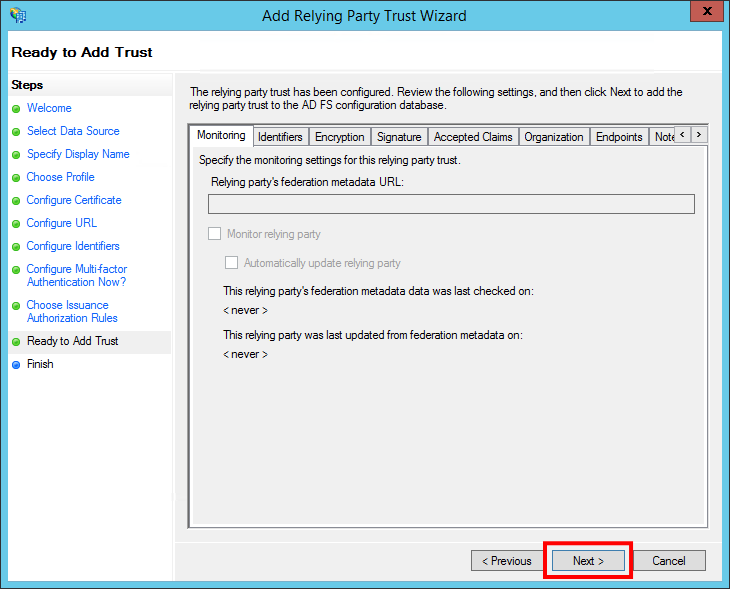
In the Ready to Add Trust screen, you can review your settings.
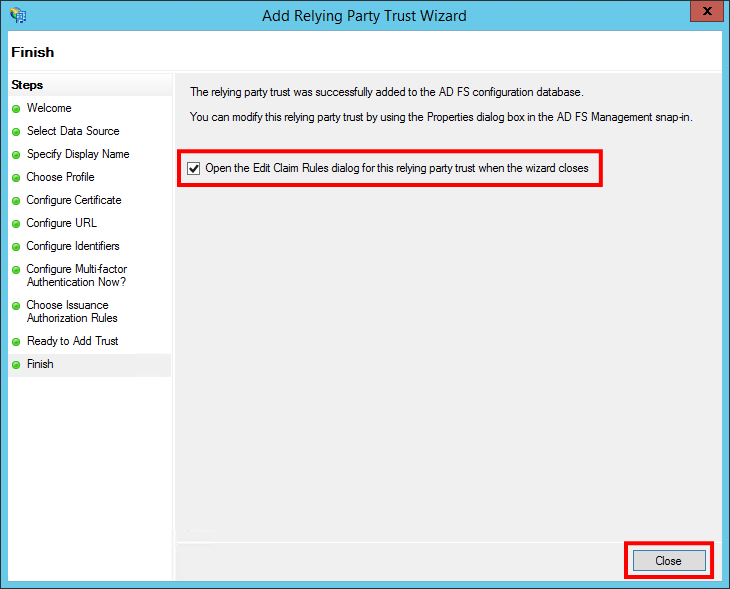
In the Finish screen, select the option Open the Edit Claim Rules dialog for this relying party trust when the wizard closes, and click Close. You will now exit configuration wizard and a Claim Rules editor will open.
Create claim rules
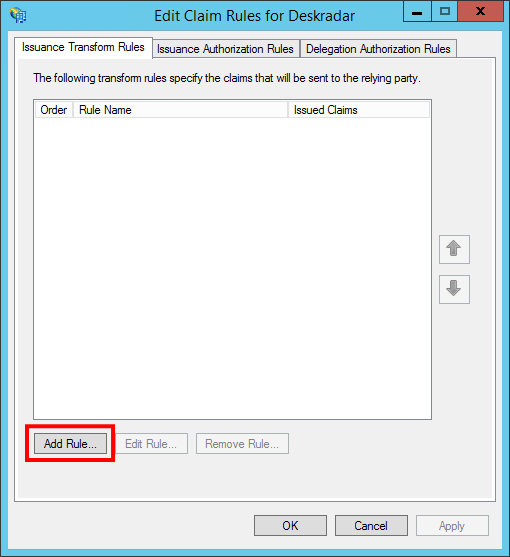
In the Issuance Transform Rules of the Claim Rules editor, click the Add Rule… button. This action opens an Add Transform Claim Rule Wizard.
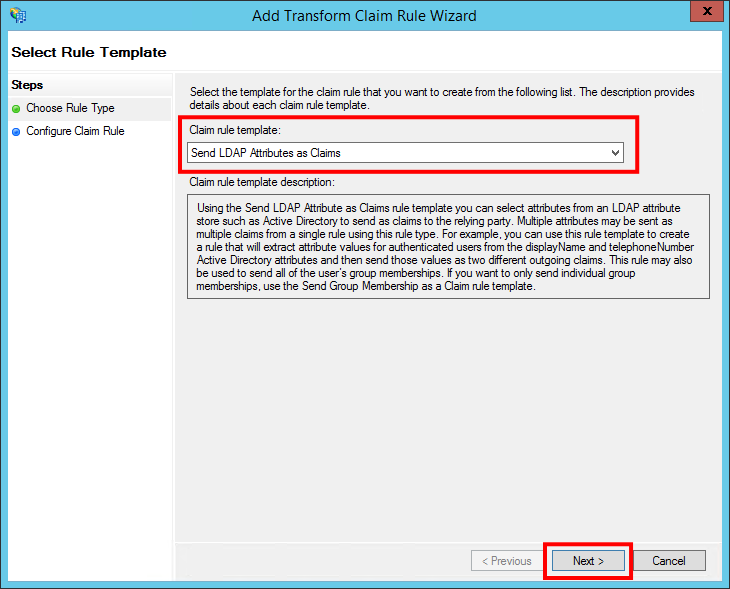
In the Choose Rule Type screen, select Send LDAP Attributes as Claims from the drop-down menu, then click Next.
In the Configure Claim Rule screen, enter a Claim Rule Name of your choice, select Active Directory as the Attribute Store and configure following LDAP attributes and Outgoing Claim Types:
| LDAP attributes | Outgoing Claim Type |
|---|---|
| User-Principal-Name | |
| Given-Name | FirstName |
| Surname | LastName |
Then, click Finish to add the rule.

Click OK in the Claim Rules editor.

Export identity provider public certificate
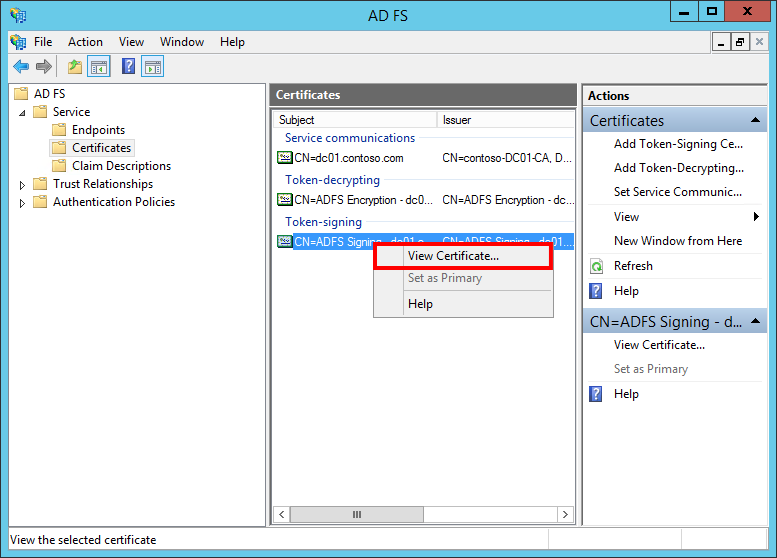
In AD FS management sidebar, go to AD FS > Service > Certificates and double click on the certificate under Token-signing. You may alternatively right-click the field, then click View Certificate.
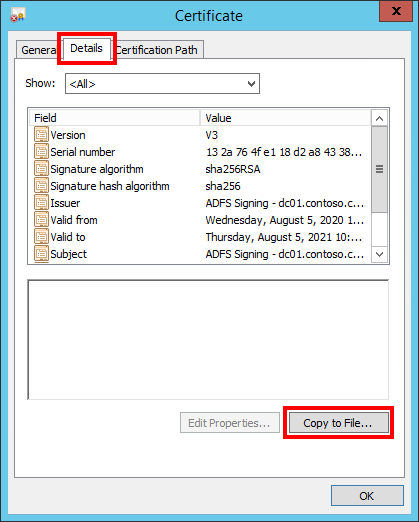
In the Certificate screen, go to the Details tab and click Copy to File, then OK. This opens a Certificate Export Wizard.
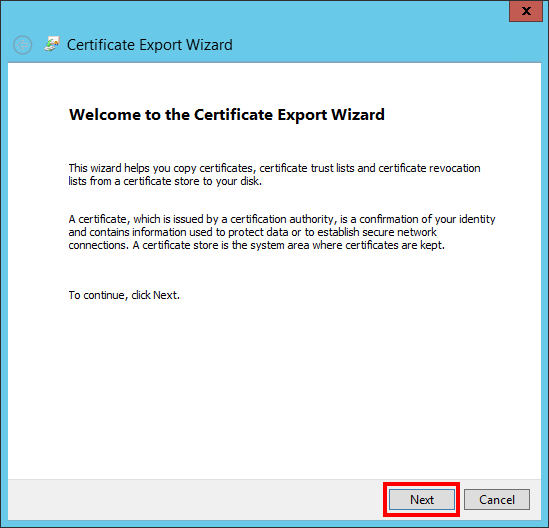
In the Certificate Export Wizard screen, click Next.
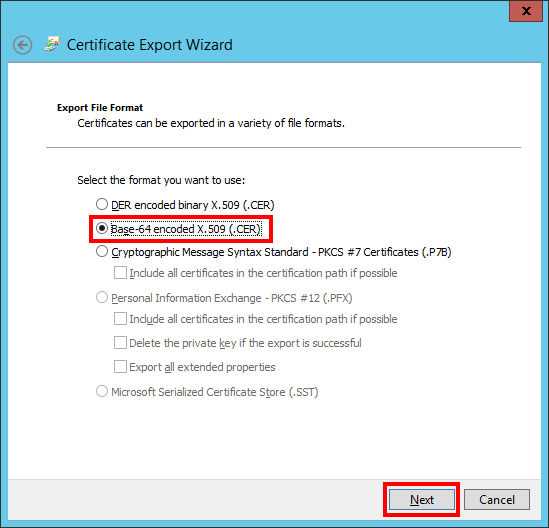
Then, select the option Base-64 encoded X.509 (.CER) and click Next again.
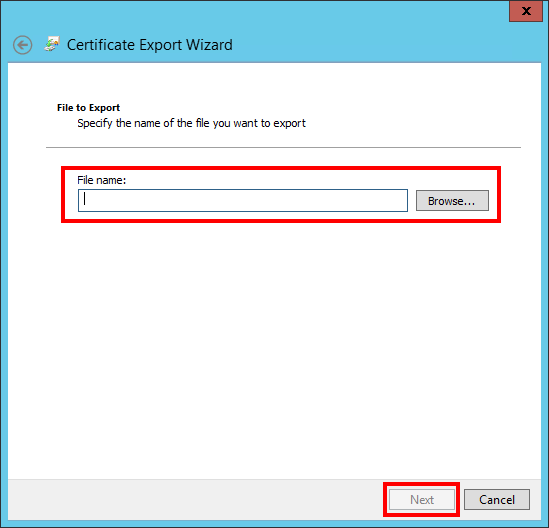
In the Certificate Export Wizard screen, click Browse to specify the location to which you want the Identity Provider Certificate to be exported, and specify the file name. Click Save. In the Certificate Export Wizard screen, verify the file path is correct, and click Next.
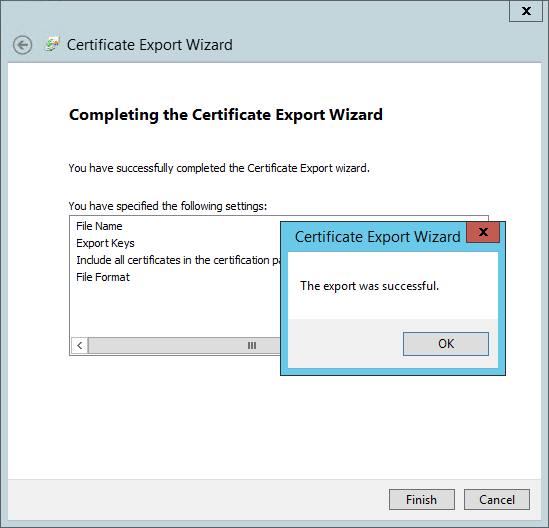
In the Completing the Certificate Export Wizard, click Finish, then OK to confirm the export was successful.
Deskradar Configuration
- Open Team panel by clicking the icon in the Sidebar.
- Switch to Single Sign-On tab.
- Enable SAML authentication method.
- In the fields enter the information about Identity Provider:
- SAML SSO URL: Use SSO URL of your ADFS endpoint e.g.
https://fs.contoso.com/adfs/ls. - Identity Provider Issuer: Use Issuer ID e.g.
http://fs.contoso.com/adfs/services/trust. - Public Certificate: Use the contents of the exported public certificate.
- SAML SSO URL: Use SSO URL of your ADFS endpoint e.g.
Sign In to Deskradar with SSO
After configuration is complete users can sign in to Deskradar.
- Launch your Deskradar instance by opening URL in your browser:
https://<your-domain>.deskradar.cloud. Replace<your-domain>with your Deskradar instance domain. - Click on Enterprise Single Sign-On button on the login view.
- Sign in with your Active Directory credentials. You will be taken back to Deskradar and signed in to Deskradar.